If you’re looking for a clean and modern backsplash design, then you may want to know how to end backsplash on open wall. This guide will show you how to do just that!
How To End Backsplash On Open Wall
Discover how to finish an open wall backsplash and get inspiration for where to place it on your kitchen cabinets, countertops, or corners.
White cabinets, stainless steel appliances, an open wall of a stone tile backsplash, and hardwood floors characterize the kitchen.
Backsplashes are a critical component of your kitchen’s functionality and aesthetics. It guards your walls against frequent cooking spills while also adding aesthetic value to your space. When selecting a kitchen style, keep in mind how your backsplash will be constructed.
Typically, the backsplash begins at the countertop, but where does it end? What is the optimal height for a backsplash? Does it have to end at the kitchen counter or in the cabinet? There are several factors to consider when determining where to end your backsplash.
We’ll discuss each of them in greater detail here, as well as address some of the most frequently asked questions about backsplashes. By the conclusion of this essay, you will be able to accurately determine the end of your backsplash, which is especially important if you have an open wall.
When Should The Backsplash Be Removed?
Among the features are a subway tile backsplash, pendant lighting, hardwood floors, and a kitchen island with barstools.
In a kitchen with a countertop, the backsplash is typically built to a height of about 4 inches overall. As a result, a significant gap will exist between the backsplash’s peak and the base of the wall cabinets.
Most older homes with original kitchens have four-inch backsplashes. It was common for backsplashes to be made of the same material as the kitchen countertops.
For example, a granite countertop paired with a 4-inch granite backsplash may create the illusion that the countertop is growing up your wall.
The practice of extending the backsplash up to the base of the wall cabinets has become much more prevalent in recent decades, and it has become the standard method of installing backsplashes in kitchens.
A new kitchen with herringbone backsplash, open shelf, and granite countertops was installed in a classic country style.
For many years, this method of determining where the backsplash should end was considered the best way to construct a backsplash.
Additionally, it worked well in terms of providing additional wall coverage, increasing the amount of surface area that can be easily wiped clean in the event of a spill, and emphasizing the tiles.
Another unique backsplash design concept is to tile the entire wall, from the kitchen counter to the ceiling. This provides maximum protection while also imparting a sleek and attractive appearance to the walls.
Utilizing tiles to the ceiling eliminates the need to choose a wall paint color and conceals any wall flaws.
A natural border or line that delineates the end of the backsplash in many kitchens makes the task of deciding where it should end much easier.
On An Open Wall, Where Should The Backsplash End?

White cabinets, granite countertops, a subway tile backsplash on an open wall, and stone tile flooring are featured in the interior of this kitchen.
However, if there is no visible endpoint for the backsplash, such as on an open wall, keep in mind that there is no universal rule for this, but there are a few options to consider.
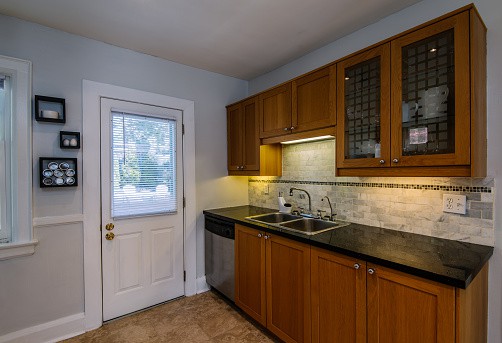
You can attempt to locate an existing line and terminate it there. The countertop and cabinets in your kitchen should all end in a vertical line. Continue with the backsplash until then.
While most people think of backsplash as following the countertop, some designers prefer to follow the upper cabinets on an open wall.
This avoids abrupt transitions and visual dissonance created by the backsplash protruding into the empty wall space. Another inventive solution to this issue is to use backsplash tiles that can be tapered intriguingly.
End Backsplash At Counter Or Cabinet

Many homeowners prefer to extend their backsplash to the countertop, as the backsplash’ primary purpose is to protect the wall from spills on the countertop, and thus its entire presence is connected to the countertop.
This is a beautiful option if you don’t have any upper cabinets in your kitchen. This gives the kitchen a modern look that works well in today’s homes. Because you’ll be looking at it a lot, pick a tile that you like.
If your counter and cabinets are not aligned, you have a few options. The backsplash may extend to the top cabinets. However, it is usually preferable if it is parallel to the co
Additionally, you can taper your tile or angle your backsplash to naturally connect the top and bottom. Alternatively, you could start with the base cabinets and work your way up to the ceiling with the backsplash. This is an excellent option for rooms with an open concept, as it separates the kitchen from the rest of the space.
What Is the Best Way To Remove The Backsplash Behind The Stove?

In terms of functionality, the materials you choose for your backsplash must be stain-resistant on the wall. However, you must use your imagination to accomplish this.
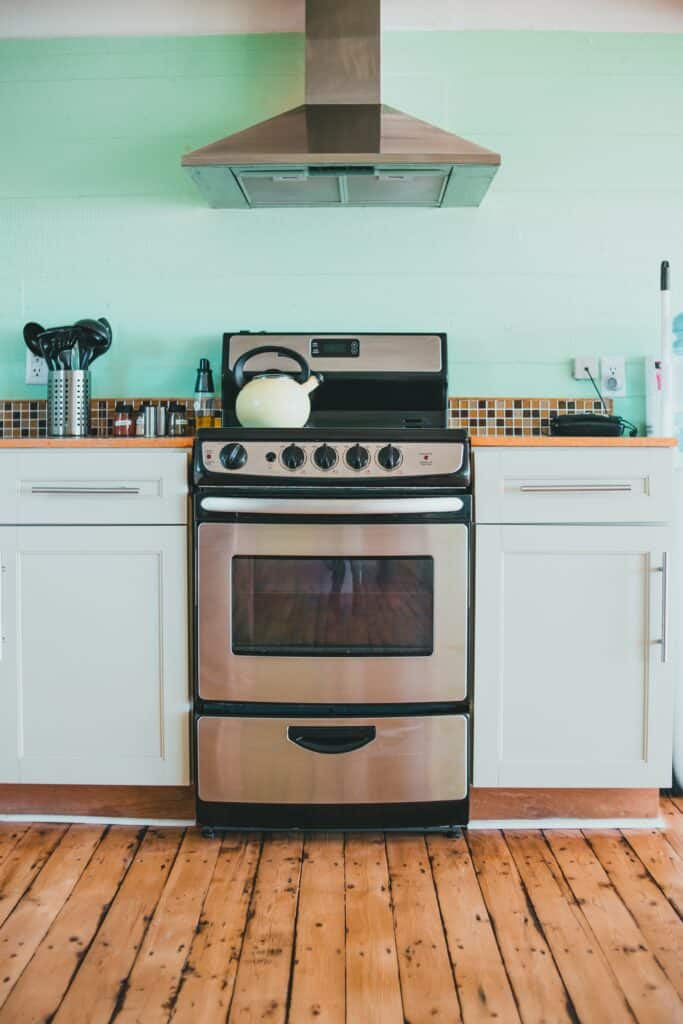
If you’re creating a backsplash to go behind the stove, choose a vibrant and eye-catching color.
How Do I Get Rid Of A Backsplash?
• Keep an eye out for natural transitions
As the backsplash’s finishing point, choose a smooth transition. Continue the existing lines in the area with the top border of your backsplash.
Consider the base of your upper cabinets, the bottom of your window, and the range hood when deciding where to send your backsplash.
A room with numerous lines can appear disjointed, but extending existing lines maintains a consistent and tidy appearance.
• In a corner, add the finishing touches.
Determine the backsplash’s vertical extension after determining its height. The majority of design professionals agree that an inside corner is ideal for material transitions. A countertop against a sidewall gets the inside corner.
• Adhere only to the cabinet’s exterior.
Larger backsplashes aren’t always better. Water and food splatters are kept off the walls above the counter by the backsplash.
While stretching the borders for aesthetic reasons is acceptable, there is no reason to go all the way to the ceiling. It does, however, appear to be fantastic.
• Ensure that the kitchen counter, cabinetry, and backsplash are all coordinated.
If you’re building a new kitchen or remodeling an existing one, it’s best to finish the countertop, upper cabinets, and backsplash vertically.
If these boundaries are maintained in their alignment, the area will appear neat. If your countertop and cabinets are already installed but are not properly aligned, you’ll need to be a little more creative to make them look nice and appealing.
Final Thoughts
While the backsplash is a significant component of any kitchen, how far it should extend is a matter of personal preference. You can end your backsplash at the countertop, at the bottom of the upper cabinets, or stretch it to the ceiling.
The most essential thing is to ensure an appealing and cohesive look in your kitchen. Ask a professional interior designer for advice if you aren’t sure how to finish a backsplash on an open wall.
Related Posts:
