Drywall tape is a great way to prevent small cracks in your drywall from turning into more significant problems. However, if there are any bubbles in the tape, it can compromise the strength of the joint and lead to even more problems down the road; this is why you need to ask yourself how to fix bubbles in drywall tape.
In this post, we’ll show you how to fix bubbles in drywall tape so that your walls look great and are strong enough to withstand whatever comes their way.
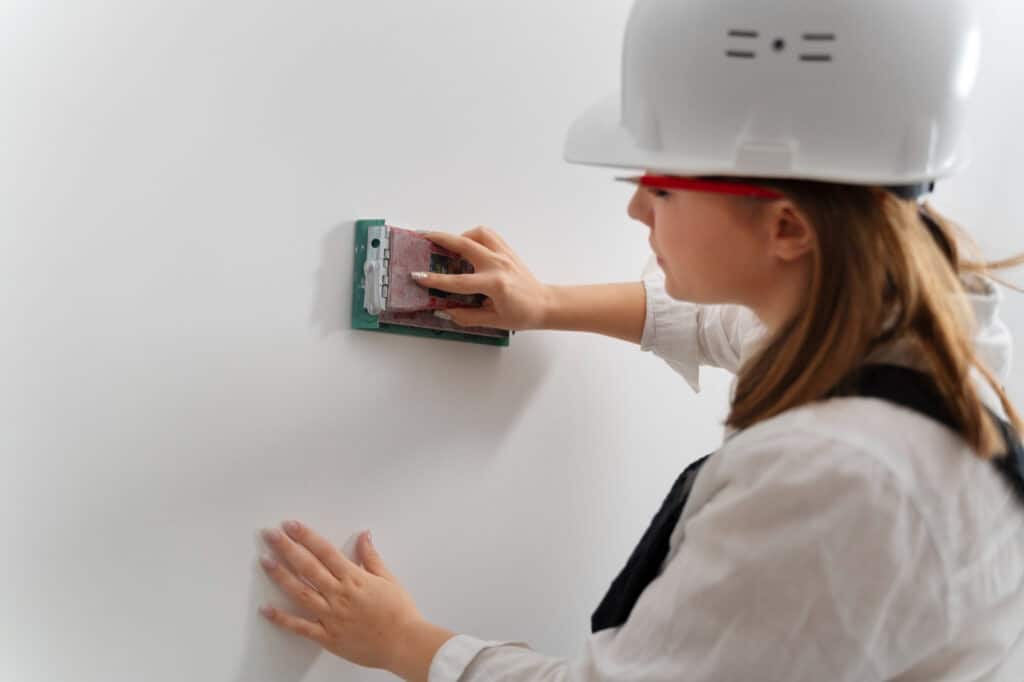
How To Fix Bubbles In Drywall Tape – Step By Step
Fixing bubbles in drywall tape is a relatively simple process, but it does take a little bit of time and patience. Here are the steps you need to take:
1. Remove the tape from the wall
It’s tempting just to slather on more mud and hope for the best, but you’ll only end up with more significant problems down the road. The best way to fix bubbling or peeling drywall tape is to remove the tape and start over. This may seem like a daunting task, but it’s relatively easy.
The first step in how to fix bubbles in drywall tape is to use a putty knife or other sharp object to score the tape along the edges of the bubble.
Next, use your fingers or a utility knife to lift the tape away from the wall. You may need to apply a little pressure to get the tape started, but be careful not to damage the drywall paper.
For small bubbles, you may be able to simply puncture the center of the bubble with the putty knife and then press the edges of the tape back down onto the wall.
2. Apply a thin layer of joint compound to the crack or hole
Applying a thin layer of joint compound is the second step in how to fix bubbles in drywall tape. You will want to use a putty knife or trowel to apply the joint compound to the crack or hole. Be sure to smooth out the joint compound to level with the rest of the drywall. Use your fingers to smooth out any wrinkles or bubbles. You may need to apply additional joint compound to cover the drywall tape fully.
3. Stick the tape back onto the wall
With the help of a putty knife, spread a thin layer of compound over the area where the tape has lifted off. Then press the tape back into place and allow the area to dry. Once dry, apply another layer of compound to cover the tape and smooth any rough edges.
4. Smooth out the joint compound with a putty knife
The fourth step in fixing bubbles in drywall tape is to smooth out the joint compound with a putty knife. You need to make sure that the joint compound is completely smooth before moving on to the next step. If there are any bumps or ridges, you will need to sand them down before proceeding. Once the joint compound is smooth, you can move on to the fifth step.
5. Let the joint compound dry completely
Letting the joint compound dry entirely is crucial to avoid further bubbles in the drywall tape. If the joint compound is not given enough time to dry, it will not adhere properly to the surface and will cause the formation of bubbles. Bubbles can also form if the joint compound is applied too thickly, so it is essential to follow the manufacturer’s instructions carefully. Once the joint compound has dried, sand it lightly to smooth out any bumps or imperfections.
6. Sand down any rough patches
When answering how to fix bubbles in drywall tape, sometimes you might not be able to tell that the joint compound is still wet, so it’s essential to wait a total of 24 hours before sanding. If the wall is very textured, you may need coarse-grit sandpaper to remove all the bumps. Just be sure not to sand too hard, or you’ll create new divots in the wall. If the wall is smooth, you can use finer-grit sandpaper. Once you’re finished sanding, wipe down the walls with a damp cloth to remove any dust.
7. Paint or wallpaper over the patched area
The seventh and final step in fixing bubbles in drywall tape is to paint or wallpaper over the patched area. Depending on the severity of the bubbling, this may be all that is necessary to fix the problem. However, if the bubbling is extensive, applying a second layer of tape or drywall compound may be required before painting or wallpapering. It is crucial to allow the patched area to dry completely before proceeding, as this will help prevent further bubbling. With a bit of patience and care, it is possible to repair even the most severe cases of bubbling drywall tape.
How Are Bubbles Formed In Drywall Tape?
Bubbles can form in drywall tape for a variety of reasons. One of the most common causes is when the joint compound is not given enough time to dry. If the compound is applied too thickly, it will not adhere properly to the surface and will cause the formation of bubbles.
Bubbles can also form if the joint compound is applied before the tape has had a chance to stick to the wall. In this case, the bubble will disappear as soon as the joint compound dries.
Finally, bubbles can form if the wall is textured or if there are any bumps or ridges on the surface. These irregularities can prevent the joint compound from adhering correctly to the wall, which will cause bubbling in the drywall tape.
Are Bubbles In Drywall Tape Dangerous?
Bubbles in drywall tape are not usually dangerous, but they can signify a bigger problem. If there are a lot of bubbles, it may indicate that the drywall is not adhering to the studs properly and is starting to buckle. In extreme cases, the bubbling can lead to cracks in the drywall. If you notice any large bubbles or extensive cracking, it is essential to contact a professional immediately.
Conclusion
Fixing bubbles in drywall tape is a relatively straightforward process that can be done with a few simple steps. By following the instructions in this article, you can repair even the most severe cases of bubbling tape. Just be sure to allow the joint compound to dry completely before proceeding to the next step. If you are having trouble fixing the bubbles, it may be necessary to contact a professional.